

Artist Statement:
On the first iteration of this levitating desk organizer project, our goals were to have something that was useful and have our ‘connection’ surrounded by magnets. We liked the turn out for the project, but we knew that there was room to grow with this. Keeping the goals the same as before, with the addition of making the levitation more apparent and sleekness, we were going to make this grow. We feel that it was the change that we need with our project to get the appeal that it needs. In the design, we made room for it to be more customizable with shelves being able to put on both sides of the desk organizer. More room to store, and more opportunity. We have a template shelf that you are able to build upon or we have set shelves that are able to be organized to your liking. Once again, the process of producing our design was an interesting exercise in exploring both how this would work from a technical standpoint, and how to work on such an item collaboratively. We learned a number of valuable lessons over the course of the project trying to make this work. We are extremely satisfied with the final product. It met everything that we wanted and with the feedback received, it was a great improvement.
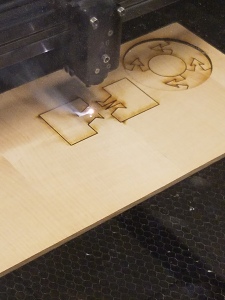
Process:
In constructing the model again, we wanted to come up with a different layout for the magnets to have more stability on each shelf. In the first iteration, we put the magnets around the guide posts. This time we laid it out like this:
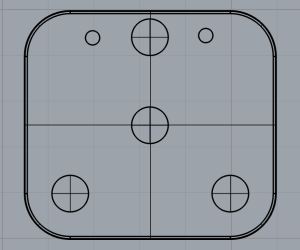
When more weight is put onto the shelf, it is more evenly balanced so it is not tipping to one side or the other.
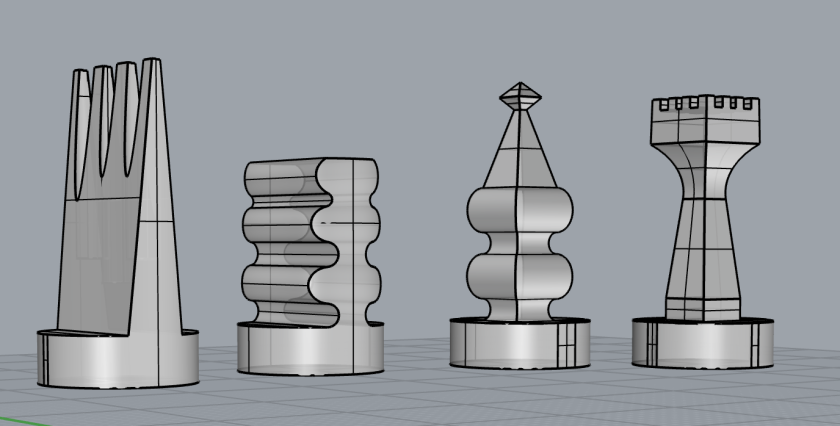
We split the work up again. The shelves that I worked on, focused on making space to put items, large and small. This shelf shows room for envelopes and small objects like paper clips, pushpins, sticky notes, etc.


Another design incorporates a 3 cup design that holds the small items once again. I also made another strip to put at the top of the organizer to hold pens, pencils, and markers. All of the designs were created using rectangles, circles, and the fillet corners command to get the rounded edges. In the end, I used boolean union to combine all the polysurfaces to get each self.


As for Lionel, he made the base and a shelf for the organizer. We decided to offset the shelf to give the user more room to grab the items that they are putting in the organizer. We also wanted to put a drawer in so that the side that is offset was not just a big block. Here is that design:


His shelf, left room so that items were easily accessible for the user. This was designed in 3 sections as well. Here is that design:


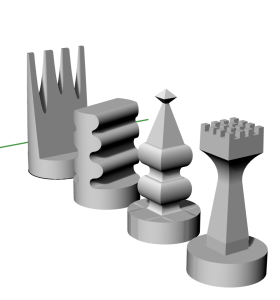
Our final product:


Here is a link to Lionel’s Work
Full Project Slideshow:


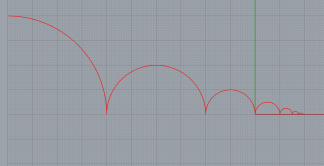 After that, I made a sphere 3x smaller than a regular basketball, just to mimic the ball. I found a basketball picture online and put that as the material. I put a floor beneath the path of the ball and put the material as floorboard. It came out looking pretty good. My inspiration came from thinking about the new season in the NBA. The design does look like some kind of earth worm but when broken down, you know it’s a basketball.